Master Dog Grooming With Slicker Brush Techniques
Master dog grooming with our step-by-step guide to effectively using a slicker brush and comb for a healthy, tangle free coat.
To brush a dog with a slicker brush and comb, start by using medium pressure and short, slow strokes with the slicker brush in the direction of hair growth, focusing on one section at a time. Always follow up with a metal comb, brushing from the skin to the tip of the fur; if the comb catches, you need to do more work in that area with the slicker. This two-step process is especially effective for double-coated breeds to remove tangles, mats, and dead undercoat.
You’ve got the brush, you’ve got the dog, and you’ve got the best intentions. But if you’re staring at that slicker brush wondering where to even begin, you’re not alone. I’ve seen so many pet parents, myself included, start off with more enthusiasm than technique, only to end up with a frustrated pup and a brush full of fur that didn’t really get to the root of the problem. The slicker brush isn’t just any tool. As the research points out, it’s like a magic wand for your pet’s hair, particularly for a dog with a double coat. Its fine, short wires are perfect for tackling the job, but using it correctly makes all the difference between a superficial sweep and a truly effective grooming session that promotes skin health and prevents painful mats.
The real pro secret, one that groomers swear by, isn’t just the slicker brush itself. It’s the one-two punch of following it with a metal comb. This combination is the golden rule for a reason. Let’s break down exactly how to use these tools to give your dog a brushing experience that feels more like a massage than a chore.
What Exactly Are a Slicker Brush and Comb For?
Think of your grooming toolkit like your kitchen. You have a chef’s knife for the big work and a paring knife for the fine detail. In the dog grooming world, the slicker brush is your versatile workhorse, and the metal comb is your precision finisher.
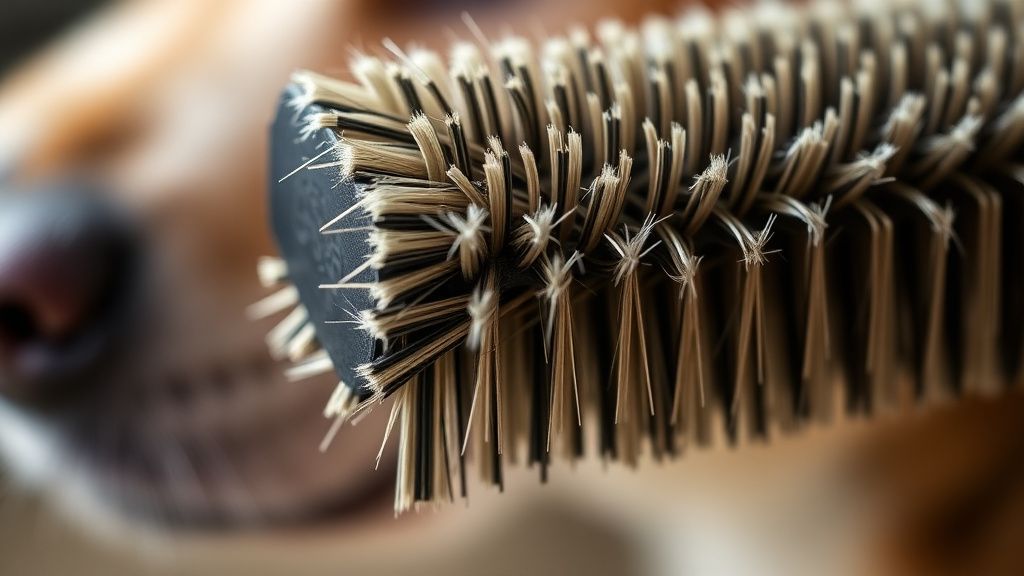
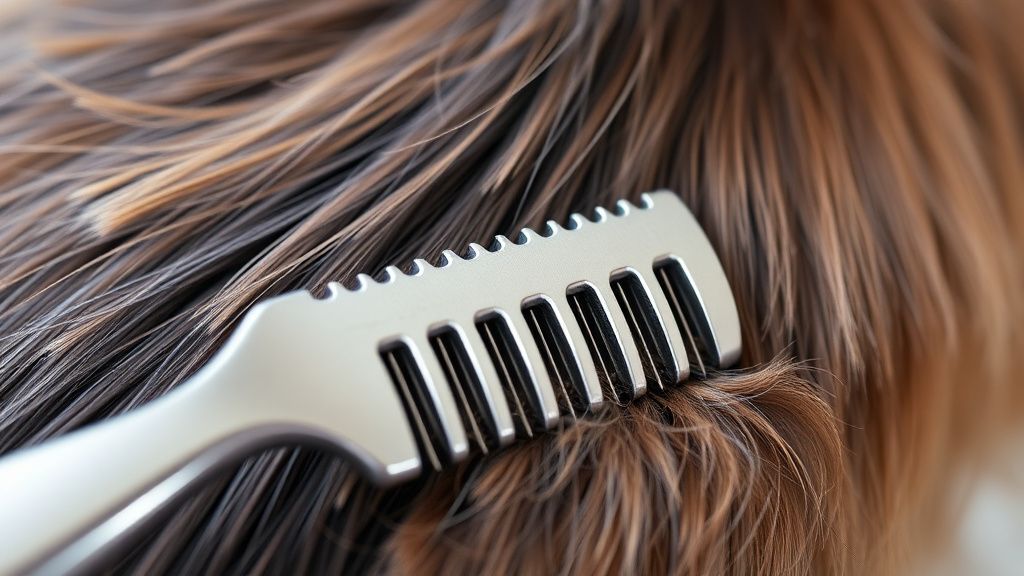
A slicker brush is designed with fine, short wires packed closely together on a flat, often rectangular, head. This design is what makes it so effective. It’s not meant for a quick once-over. Its job is to penetrate through the topcoat and reach the dense undercoat, teasing out loose hairs, debris, and the beginnings of tangles before they become serious mats. It’s the recommended starter tool for breeds with medium to long double coats, like German Shepherds, Huskies, and Corgis. For longer, dense coats like those on Golden Retrievers or Goldendoodles, experts recommend brushing several times a week with a wire slicker brush.
But here’s the catch. The slicker brush can sometimes glide over small tangles or leave the undercoat not fully detangled. That’s where the metal comb comes in. Its widely spaced teeth at one end and finer teeth at the other allow you to check your work thoroughly. The rule from professional groomers is clear: always follow your slicker brush with a metal comb from skin to tip. If the comb glides through smoothly, you’re done. If it catches, you know you need to go back with the slicker and work that specific area more. This ensures you’re not just brushing the surface but getting all the way down to the skin, which is crucial for coat health and temperature regulation.
The Pro Step-by-Step Brushing Method
Throwing a bunch of treats into a dog subscription box can make grooming more appealing, but technique is what builds a lasting positive habit. This method, often called line brushing, is what separates a basic brush from a professional-grade groom.
Step 1: Preparation and Mindset
First, choose the right size brush. A small slicker is great for mini breeds or sensitive areas like the face on bigger dogs, while a large slicker is meant for larger dogs. Gather your tools: the slicker brush and a metal comb. Have some of your dog’s best dog treats on hand for rewards. Find a comfortable, well-lit spot and help your dog settle. Brushing should never feel like a struggle between you and your dog. If your pup is anxious about grooming, our dog anxiety guide has tips to help them feel more at ease. Start with a calm, petting session to relax them.
Step 2: Section and Conquer with the Slicker
Don’t try to brush the whole dog at once. Start at the neck, behind the ears. Use your free hand to part the fur. Hold a section of hair back against the growth direction with the flat of your hand. This exposes the skin and the roots of the coat. Now, take your slicker brush. Using medium pressure, brush in the direction of fur growth with short and slow strokes. Focus on that one small “line” or section. You’re brushing from his neck toward his tail, but in controlled chunks. This technique ensures the brush reaches the skin and pulls out the dead undercoat effectively. Work systematically across the body, section by section.
Step 3: The Comb Check
After you’ve slicker-brushed a section, immediately pick up your metal comb. Start at the skin in that same section and comb all the way through to the tips of the fur. Do this gently. This is your quality control. If the comb meets any resistance or catches on a snag, you haven’t fully detangled that spot with the slicker. Go back and use the slicker brush specifically on that tangled area, using short strokes to gently work it out. Only move on when the comb glides through the entire section from skin to tip without catching.
Step 4: Handling Tangles and Mats
If you find a knot or mat, address it immediately and individually. Never pull or yank on it. Hold the base of the mat firmly between your fingers at the skin to avoid pulling the skin. Then, use the tip of your slicker brush or the wider teeth of your comb to gently pick and tease the mat apart from the outer edges inward. For severe mats, it may be safer to consult a professional groomer, as cutting them out can risk cutting the skin.
How Often Should You Brush Your Dog?
There’s no single answer, as frequency depends entirely on your dog’s coat type. A weekly brush is a good baseline for many dogs, but some need much more.
For dogs with longer, dense coats that tangle easily, such as Goldendoodles or collie" class="text-yellow-600 hover:text-yellow-700 underline">Border Collies, you’ll want to brush several times a week. This regular maintenance prevents mats from forming, which can pull on the skin and become painful. For double-coated breeds like Collies and Huskies, a weekly session with a bristle brush or comb is often recommended, but during shedding seasons, you may need to use your slicker and comb daily to manage the avalanche of undercoat.
The beauty of a consistent routine is that sessions become shorter and easier over time. You’re not battling a season’s worth of undercoat all at once. Think of it like keeping up with housework. A little bit often is far easier than a massive, exhausting deep clean. Plus, regular brushing distributes natural skin oils throughout the coat, keeping it shiny and healthy, much like a balanced and complete diet from a fresh dog food service supports their coat from the inside out.
Common Mistakes to Avoid
Even with the best tools, a few simple errors can turn grooming into a negative experience. Here are the big ones I see all the time.
* Brushing Too Hard or Too Fast. The slicker’s pins are fine. Using excessive pressure or long, rapid strokes can scratch and irritate your dog’s skin, making them dread the brush. Remember: medium pressure, short and slow strokes.
* Skipping the Comb. This is the most common mistake. The slicker brush alone can leave a false sense of security. The comb is the only tool that truly tells you if you’ve reached the skin and removed all tangles. If you skip it, you’re only doing half the job.
* Brushing a Dirty or Dry Coat. Brushing is most effective on a clean, slightly damp coat. Brushing a very dirty coat can grind debris into the skin, and brushing a completely dry coat can cause static and breakage. A light spritz of dog-friendly detangling spray can help.
* Neglecting Key Areas. It’s easy to focus on the back and sides. Pay special attention to high-friction areas that mat quickly: behind the ears, under the armpits, around the collar, and behind the hind legs.
* Forgetting the Reward. Always end on a positive note with praise, play, or a treat. You want your dog to associate brushing with good things. Pairing a grooming session with a special treat from their monthly delivery can create a wonderful ritual.
Final Thoughts
Mastering the slicker brush and comb is one of the most valuable skills you can learn for your dog’s wellbeing. It’s more than just keeping them looking good. It’s a hands-on health check that lets you bond with your pup while monitoring their skin, feeling for any unusual lumps, and preventing the discomfort of mats. The process might seem detailed at first, but with practice, it becomes a smooth, almost meditative routine for both of you.
Remember the core principle: the slicker brush does the heavy lifting of loosening debris and undercoat, and the metal comb confirms the job is done completely. By adopting this professional two-step method, you’re not just brushing your dog. You’re providing care that contributes to their comfort, health, and happiness for years to come. For more tips on building a great care routine, explore our guide on establishing a puppy schedule. Now, go grab that brush, some treats, and give your best friend the pro-grade groom they deserve.
Find the Perfect Box for Your Dog
Compare top-rated dog subscription boxes and find the best fit for your pup.
Compare Boxes